No, I mean *exactly* where?

Tired of missed connections? There’s something I just discovered on Google Maps that might help. It’s called Plus Codes.

Plus Codes work similar to street addresses. They can help you get and use a simple digital address. They can also help you define a specific location for a conventional address. For example, you can identify different entrances to the same building. 

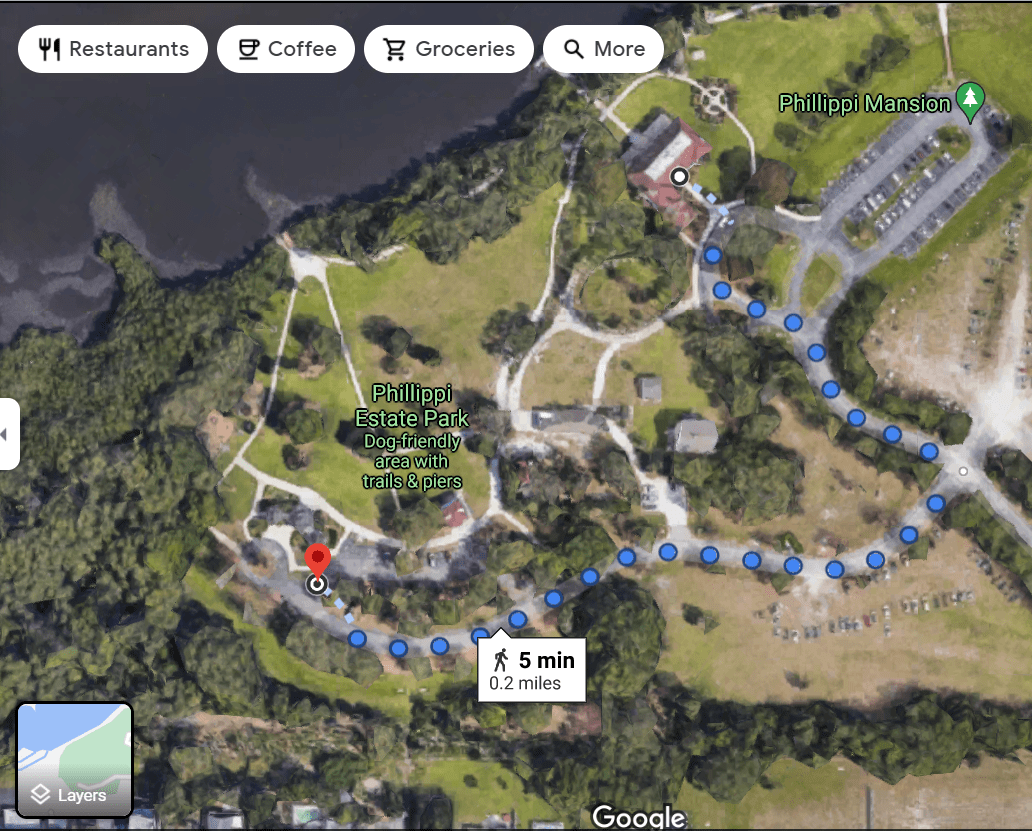
… or for example where in Phillippi Estate Park to meet (here’s an example:
7F98+X8 ), or the location you’ve staked out on Siesta Beach. You can even get directions.

Plus Codes is actually designed for what is called “the unaddressed”, people’s residences or businesses that through tradition or oversight don’t have postal addresses, but as you see, it works in what in our area would be considered wilderness.

How to get, and how to share, and how to utilize Plus Codes.

As you can see, you can now tell people exactly where to go. A boon to mankind.

See you at the Gazebo!

Join the Space Age

One day I decided to explore the extensions in my Chrome browser, and it’s been a joy ride to uninterrupted reading ever since.

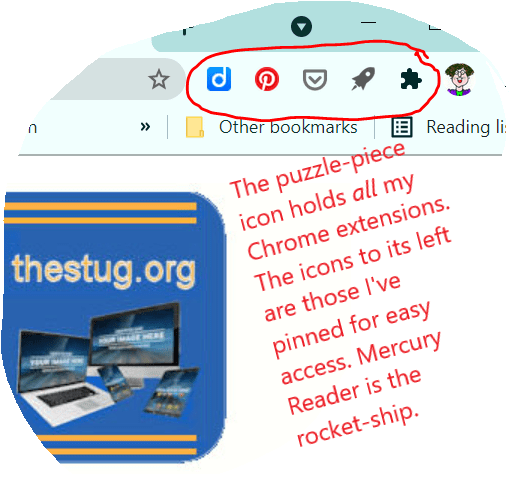
My favorite Chrome Extension is Mercury Reader. If you’ve ever been annoyed and distracted by ads, popups, videos which run without your permission you need this!

In addition to (almost 100%, nobody’s perfect) eliminating the commercials while leaving the meat of a web page, Mercury Reader also allows you adjust font size, copy text, and even adjust the background color from white to black. You can print the cleaned-up page, send it via email, even make a PDF of it. You can even send pages to your Kindle reader, though I haven’t tried that.

The upper right of my screen in Chrome browser.

With Mercury Reader, I make the most of my screen time!

Let me get back to me on that…

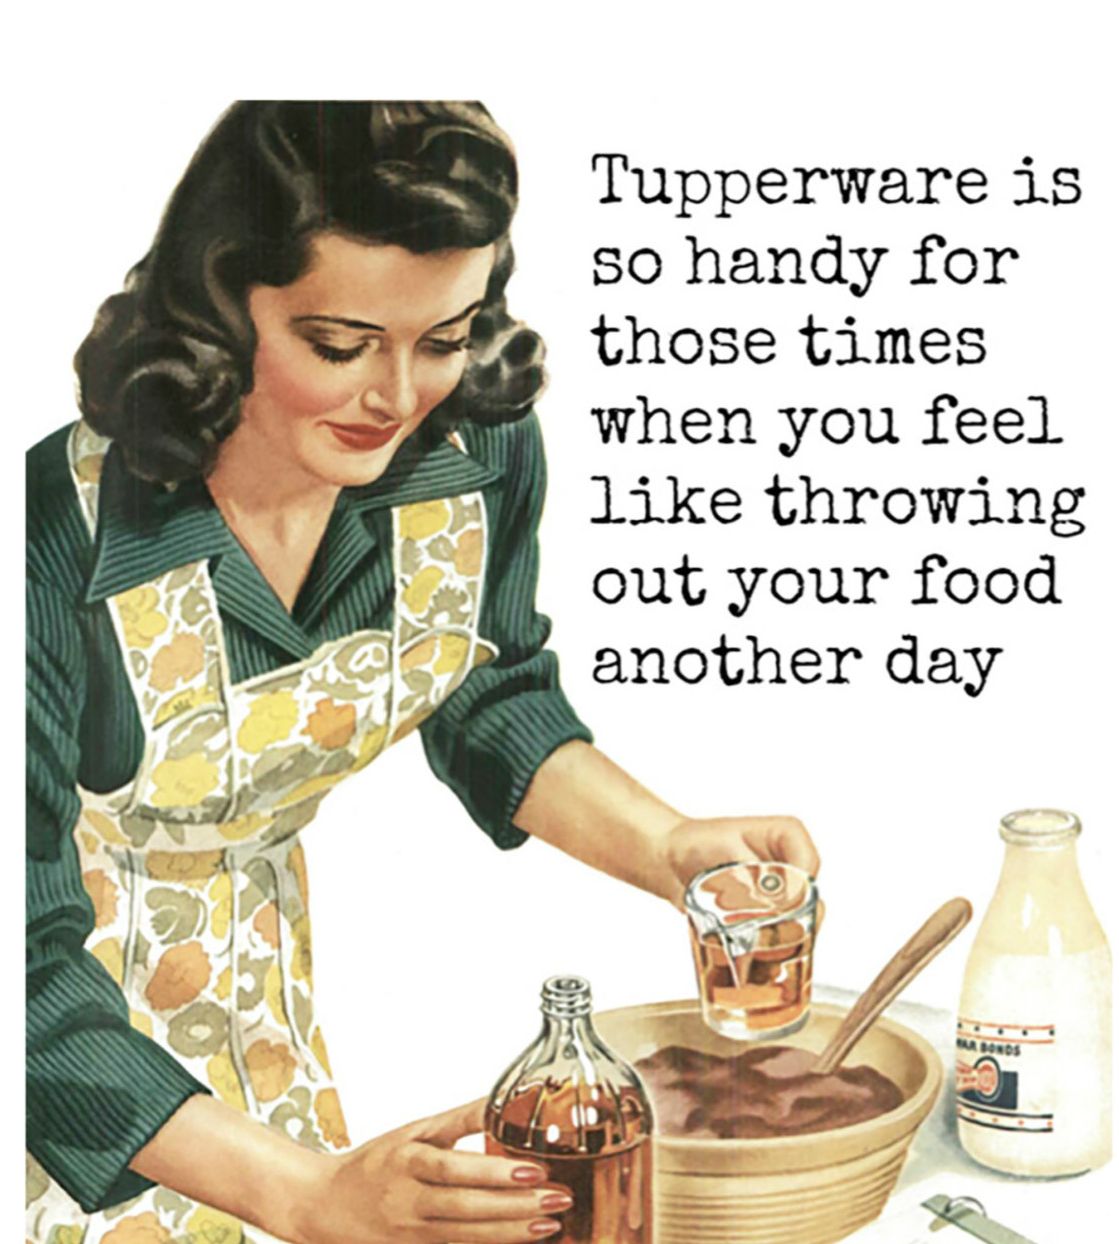
I love to cruise the ‘net, but alas… I get so easily distracted. So I’ve learned how to save articles and feast on leftovers later. Kinda like eternal Tupperware.

If you’re running the latest version of Chrome on your computer, you’ve probably noticed the Reading List button—it’s right below your avatar in the top right corner of the browser, unmistakably labeled “Reading List.” (On an iPhone or iPad? Tap the three dots in the bottom right of the screen.)

Using the Reading List is the same as bookmarking a web page. It’s available in Chrome on the desktop (Windows, Mac, and Linux) and for iPhone and iPad. Android user? Read this.

Pages saved to your Chrome Reading List can be read without an internet connection—though you do need internet to add to the list.

I prefer Pocket myself; It’s the graphics it saves that help me remember why I wanted to get back to me on that. It also can read many of your saved articles to you. I do need some organizational skills though so I should probably read this.

How about sending webpages to your Kindle? Yup, you can do that.

The world is so full of a number of things, I’m sure we should all be as happy as kings.

Robert Louis Stevenson

Want a deeper dive?

Should I use CC? or BCC?

Probably only us oldsters know that CC: stands for the time-honored “carbon copy” for business correspondence. But we don’t need to sigh over those faint, smudged carbon copies because the e-revolution brought us something much more exciting: BCC‘s. That stands for “blind carbon copies”, or “don’t tell him but I sent her a copy” (or vice versa, of course, to be inclusive. )

So what to use when, how to use the “to” field, and what do your choices look like to your recipients?

In short, every recipient email address you enter into the “to” and “CC” fields will be able to see each other.  The email addresses you add to the “BCC” field will not be visible to the “to” and “CC” recipients or the other “BCC” recipients. Here’s what to keep in mind:

  • To: enter the email addresses of the people the email is specifically targeted to
  • CC: enter the email addresses of people you want to know about the email, remembering that everyone involved will have access to these email addresses
  • BCC: enter the email addresses of the people you want to know about the email but not announce to everyone else that they are getting a copy, and/or to not broadcast their email address to others, including others who might be in the bcc list.

The most important use, in this writer’s humble opinion, for BCC is whenever you’re sending an email to many recipients who don’t know each other. Using BCC is crucial in this situation. You don’t want to higgledy-piggledy give everyone on your [business/ personal/club/interest] list, everyone else’s email.

And as a recipient of same, what’s expected of you?

Email etiquette dictates that only the main recipients of the email appear in the “To” field. Primary recipients are more directly affected by the email and are typically expected to respond or take action. For CC recipients, on the other hand, responding and acting are generally optional. The key purpose of the CC field is to simply keep someone in the loop. It’s often called a “courtesy copy” for this reason.

Responding to emails based on how you rank:

CC’d individuals will receive all additional responses to the email, assuming the “Reply All” function is used. BCC’d recipients do not receive additional emails unless you choose to forward them.

The most important thing I learned when writing this post for you:

When typing your reply to an email, start by DELETING the person’s email address. Then write your reply. That way, deciding to send that overcomplicated/ incorrect/ snarky reply will be your choice as you re-enter the recipient(s) name(s), rather than a hasty decision you’ll regret 30 seconds later.

Info in this post from, and more info available, at

It’s alive! It’s ALIVE!

Remember when we saw all the wonderful things that we could do with computers, circa 1982? Pretty cool, huh. We could balance our checkbooks and dial a number until it’s answered. (Well, nix on that last thing, right?)

Well, here’s something else that can be done, and I think it’s just about the BEST thing to do:

Keep old books alive. It’s a fascinating process.

To be able to have not only well-known information at our fingertips but more obscure information? Such as The Florida driving test no longer requires parallel parking (learning to parallel park took up my entire summer of ’63.) Or what was in your kitchen cupboards in 1925. If you wanted, you can read all about it in a 1925 book called The story of a pantry shelf thanks to a book kept “alive” by the Internet Archive.

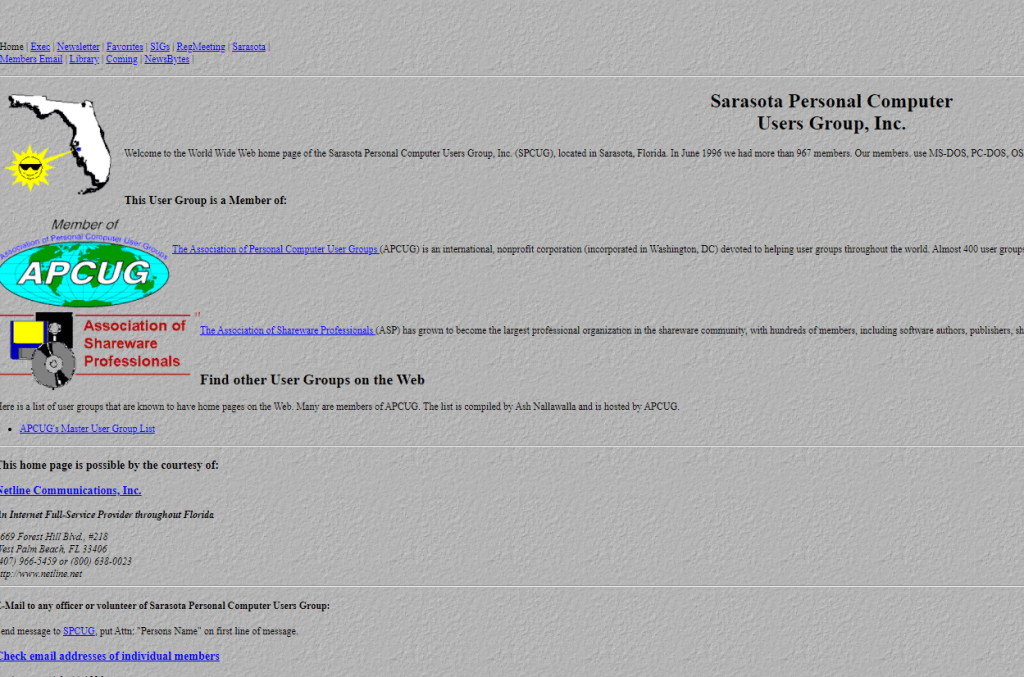
But digitizing old books is not all the Internet Archive does. One way to use the Internet Archive that you may be familiar with, is to see what web sites used to look like. Here’s STUG’s website in 1996:

No one knows how webcams actually work, so…

No one knows how webcams actually work, so… You can become a Zoom pro and impress co-workers with these tips!

Don’t join five minutes after the meeting’s started. It’s happened to us all. We’re all set for the meeting… but where oh where did I put the darn link to join! This tip’s the one I personally need the most. I’m not late I’m just disorganized. Solution here.

Don’t distract yourself by obsessing on your own image. Here’s how to hide the video of you from yourself, while allowing others to see that you’re engaged and alert.

Sometimes, you just don’t want to be seen by everyone… but showing just your name seems, well, unfriendly. Here’s how to set and use a profile picture instead of live video during a Zoom. Another take on the subject. And, since nothing techy ever seems to be glitch-free, here’s what to do when that doesn’t work. (Personal tip? You have to do it once the meeting’s underway. Good reason to find that darn link and “arrive” early.)

And in conclusion, an article full of advice that the authors say “you probably shouldn’t take”… complete with another use for Post-It notes.

“Everyone Needs a Capture Tool”

The ability to capture an image of a whole computer screen or Window has been around since the 1960’s. It comes in handy for anyone who wants to include a portion of a screen, such as a picture, group of text, chart or graph, in another place. For example, you might be typing a letter to a friend and want to include a map of your recent vacation trip from an online catalog. You can open both the letter and the page that contains the map.

The original capture tool was the Print Screen key (PrtScr) on the keyboard. At first, this basic tool could capture only the content of the whole screen or an active Window. You can still find Print Screen on most keyboards as one of the F keys along the top, but to use it in Windows 10, you must first enable it. Click Start > Settings > Ease of Access > Keyboard (in left pane near the bottom) > Print Screen Key. Turn on “Use the Print Screen key to open screen snipping.”

Windows currently offers three capture tools.

  1. Snipping Tool was introduced in 2002 as part of the Microsoft Tablet PC. In 2006, it became one of the accessories in the VISTA operating system. Besides the basic captures of Windows and screens, it added freeform captures and editing tools like colored pens and an eraser. It also added a time delay of 1 to 5 seconds to give the user time to open a menu which would otherwise not be visible during the capture. Snipping Tool captures are saved as photos (.jpg files). They can be copied into MS Paint for more extensive editing. Once saved and edited, they can be pasted into the Office apps, such as Word documents, Excel spreadsheets, Outlook emails, or PowerPoint presentations.
  2. Screenshot was introduced in 2017 in the Word, Excel, PowerPoint, and Outlook applications. It is a newer version of the Print Screen key and is located on the insert tab in the Illustrations or Images group. It can capture the whole screen, a Window, or a portion of a screen or Window. Detailed instructions for its use can be found by holding your mouse pointer over the Screenshot icon, then clicking Tell Me More.
  3. Snip and Sketch is the newest Windows 10 capture tool, which was part of the Fall 2018 Windows update. It has all the features of Snipping Tool plus a few new ones to accommodate the features of current devices, such as touch screens. It has a ruler and a protractor to use if a capture needs to be a specific dimension. Its time delay choices are 3 or 10 seconds. Snip & Sketch also lets you crop the snip before leaving the app. A capture can be shared with nearby devices using Bluetooth and Wi-Fi. In Windows 10, pressing the enabled Print Screen key will open the Snip & Sketch mini toolbar, or you can open it by pressing the Windows key + Shift + S.

“As a longtime fan of Snipping tool, I was concerned when I learned that it will be replaced soon by Snip & Sketch,” says Nancy. “However, Snipping Tool will still be available at no cost in the Microsoft store. The more I use Snip & Sketch, the more I find it to be a good upgrade, but I’m keeping them both among my apps until I decide which is my favorite. Everyone needs a capture tool.”

This article courtesy of the STUG e-newsletter, the Monitor, and author Nancy DeMarte, First Vice President and Education Chair of thestug.org